Welding Project: Create a Work Platform for Your Shop
Print Article
Add a work platform to your welding space with these ten simple steps from metalworker Ron Covell.
Tackle elevated tasks
I’ve often needed a little extra height to access something just out of reach, or to make me more comfortable when working on something above eye level. I’ve used makeshift platforms — such as plastic milk crates — in the past, but these are rather small and unstable, and always have the nasty potential for tipping when I shift my weight. I finally decided to build a serious work platform with a non-slip top surface. I made it large enough to let me take a few steps left or right and to provide enough space for a foot pedal if I want to TIG weld something up high.
If you’re looking for a project, this is an accessible one — even for a novice welder. The material costs are reasonable, and all the fitting and welding is very forgiving of small inaccuracies. It’s a great way to prepare yourself for more challenging projects, and you know that you’ll use it often.
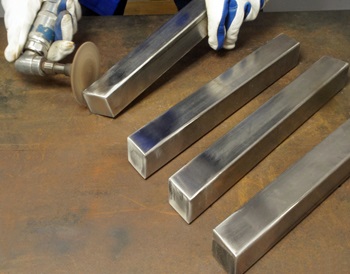
I selected 1 1/2-inch steel tubing with a .065-inch wall thickness for the base for my platform, with 1/8-inch diamond plate for the top surface to give me sure footing. I made the platform 13 inches high with a top surface 12 inches deep and 32 inches wide. I decided to splay the legs out at a 15-degree angle to make it even more stable. I made a quick drawing of the platform to double-check the dimensions, angles and proportions, then I used a chop saw to cut the steel tubing to length and miter the ends.
The first step was welding caps on the ends of each leg. I used 1 1/2 by 3/16-inch hot rolled bar for the caps. I cut the pieces to size and chamfered the edges so I would get sufficient penetration with the weld to allow me to sand everything smooth.
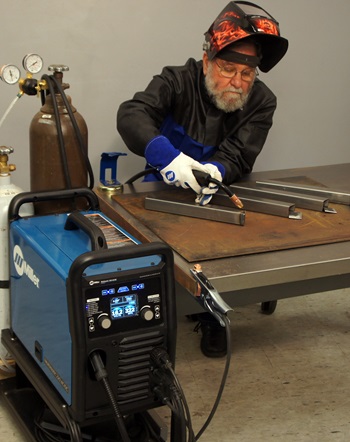
I MIG welded the platform using my new Multimatic® 220 AC/DC machine. I used the Auto-Set™ technology — a great feature that makes getting the right weld parameters a snap — adjusted for .024-inch welding wire and 1/16-inch metal thickness, which gave me 16.2 volts and a wire feed speed of 322.
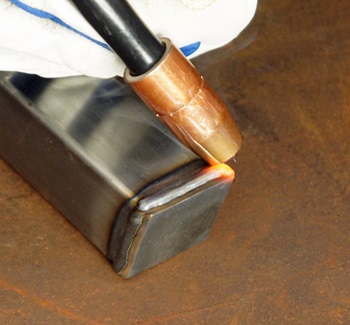
Welding the end caps went quickly, and I got a clean, smooth weld bead with full penetration. The next step was to sand the welds flush. I used an 80-grit abrasive disc for this, and then cleaned up the sanding scratches with a non-woven abrasive pad. Of course, a platform like this would be just as effective if the welds were left untouched, but I like to do work that incorporates little finishing touches like this.
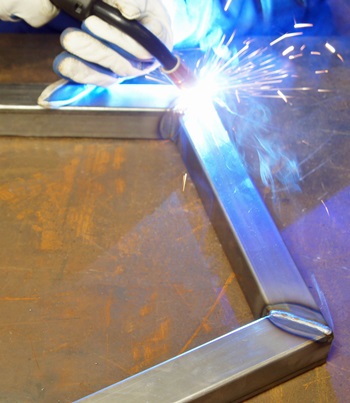
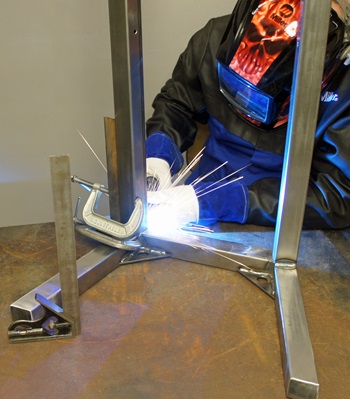
Next, I welded the mitered corners that join the legs to the horizontal tube. I sanded a chamfer on each piece, then clamped the tubing to a steel plate to ensure proper alignment and checked the angle before tack welding. I also drilled a vent hole in each corner to prevent gas pressure from building up as the weld is closed.
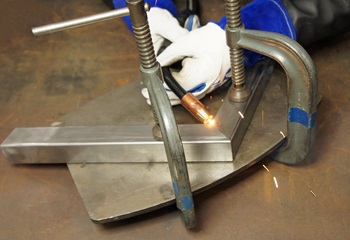
Once I had both legs tack welded to the cross tube, I finish welded each joint.
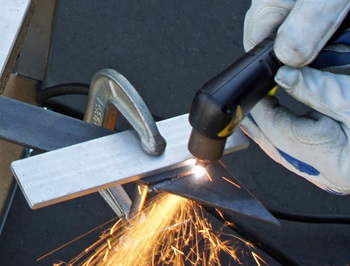
Next, I cut gussets for each corner joint. I used my Miller® Spectrum® 375 X-TREME™ plasma cutter to quickly slice through the 3/16- by 1 1/2-inch hot rolled steel bar. I used a piece of metal stock as a guide to ensure I got a nice, straight cut.
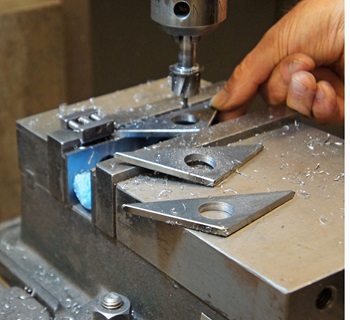
I cleaned up the cut edges with a sander and used a 3/4-inch annular cutter to put a hole in the center of each gusset — just to add a bit of visual appeal. After making the holes, I chamfered the edges a bit, which not only deburred them, but added another interesting accent.
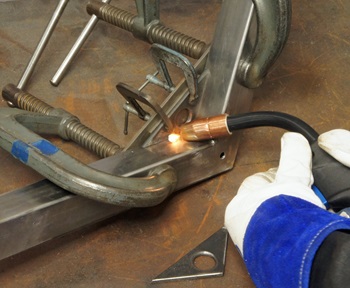
I clamped each gusset into place, using an 1/8-inch spacer to recess it slightly from the face of the tubing, and I tack welded them in several places. You can clearly see the vent holes in this shot. After tacking, the gussets were finish welded on the inside only, leaving a clean, crisp joint on the outside.
The cross tubes were fitted next. These were clamped, then squared and tack welded. All the joints were checked for squareness again before finish welding. The cross tubes were aligned over the vent holes in the legs, and I put vents in the cross tubes as well. After these joints were finish welded and sanded smooth, the gussets were fitted. I clamped, tacked and finish welded these, just as I had on the previous corner joints.
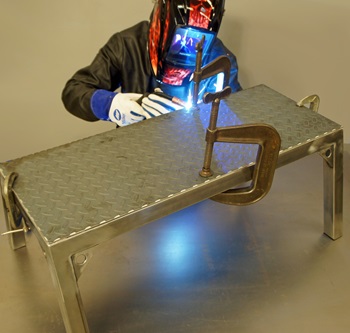
The last step was fitting the diamond plate top surface to the tubing. I took careful measurements of the tubing structure, then used guides with my plasma cutter to cut the plate to size. After cutting, the swarf was cleaned from the edges of the plate, and I clamped it into place to check the fit. Once I was happy with the fit and alignment, I made several welds about 1-inch long to join the plate to the tubing frame.
After finishing all the welds and sanding everything smooth, I applied a coat of paint to keep the bare steel from rusting.
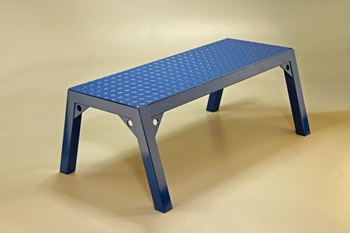
This step stool is such a joy to use! Now that it has become a permanent fixture in my shop and I’ve learned how often I need it, I only wish I had taken the time to build one years ago. Who knows if or when I might have been injured from falling off an unstable temporary perch, but I’ll sleep better knowing that this sturdy platform will allow me to work on those pesky elevated tasks in relative safety.
About Ron Covell
Ron Covell is a talented welder and metalworker in the automotive industry. Covell is a contributor for Hot Rod Network, where he has a popular column titled, "Professor Hammer's Metalworking Tips." He also owns Covell Creative Metalworking, offers instructional metalworking DVDs and hosts workshops around the country.
Feeling inspired? Check out our project page for more DIY welding projects, including step-by-step guidance, videos and downloadable plans.
CHECK IT OUT